Hey there,
One of the most difficult parts for making a design come together is simply coming up with a scheme. After that, it flows together pretty smoothly since you can work from your inspirations and fit the puzzle pieces together from there.
The good news is that we've moved in to our master bedroom. The bad news is that like many spaces I'm working with it is just not finished! That's OK though, because most of our other BIG projects are either complete or are coming to a close. I promise to start taking some time to reveal them to you;)
Well, I have been struggling with our new bedroom because though I love light and airy which it is, but I also love me some romance and drama. Leave it to the lovely Kelly Hoppen to be my constant muse and source of inspiration never failing to help shed some light on the missing pieces. I'm talking about the white and grey with natural touches that I was already working with, but combining it with some major drama by adding black to the mix. The end result is still calming, but now it will have a bit more edge and glamor. Who doesn't need that in their bedroom?!
Here's where it started:
Mixed with a little bit of these non-Hoppen inspirations:
And the result will be our new bedroom! Here's how we're going to pull it off!!!
Now clearly, this is the start of something good! I will give a break down of the completed room piece by piece once we're there in case you want to er- borrow some inspiration for your own dramatic bedroom. Are you thirsty for more? I know we are, and I can't wait to show you the finished product~
Tuesday, December 13, 2011
Thursday, December 8, 2011
Master Bathroom Progress, Carrara Marble Mosaic Tiles
Good morning, I wanted to share some very premature pictures of my master bathroom as it stands right now which is simply with tile and lighting. I LOVE the results of the tile. We chose carrara mosaic tiles in our all white bathroom. The best price I found were the Grecian white 3"x6" tiles as seen here at Home Depot . We decided to go with these because after shopping around they were in stock and more affordable at $5.49/sf. It was a splurge for sure, but I LOVE an all white bathroom with carrara marble so Robert went with it to make me happy :)
Here are some pictures of the results.
Due to limited space in the bathroom addition we went with a shower/ tub combo. Though many people wanted to know why I didn't simply do a shower, I am a big time bather and a luxury soaker tub for me is a MUST. We chose a very large and wide 42"x59" modern style soaker tub that will allow for my husband and I to literally sit side by side in the tub with no problems!
If you are looking to install the same tile from Home Depot there are a few things that you should know. It is not an easy job! Since these tile need to be laid one by one it will take A VERY LONG TIME! The reason for this is that most walls unfortunately are not even which results in your installation process taking extra time because each piece will have to be leveled and worked with so that you have a smooth finish. You need to go with a good knowledgeable installer for this. We were charged a flat rate of $750 and unfortunately the people we used ended up losing out since it took longer than even they expected. The job was started last Friday and was completed Tuesday with them here every day out of the 5 days! The results are stunning, but just be prepared.
Since you see it in the pictures, here is the lighting that we chose for that space. They are the Allen + Roth Polished Chrome Flush Mount lights from Lowe's who by the way has a pretty decent selection. I chose this lighting very quickly and had no time to order ahead as the installers were already here which I hate doing. but it goes perfect with the style of the bathroom. We did have to modify the length since it came at 7.5" and was too short. Our electrician took an extension rod that was only available in copper and cut it in half adding equal size to each light. I actually like the 2 tone look that it now has as well as the extended length.
Well, it isn't much and it certainly isn't finished, but we're getting there little by little. The bathroom vanity will be here Friday morning and I need to find sinks and faucets so hopefully there will be more progress by the end of the week.
Did I mention that we are having a party Saturday?!!! Can I scream now??????
Here are some pictures of the results.
Due to limited space in the bathroom addition we went with a shower/ tub combo. Though many people wanted to know why I didn't simply do a shower, I am a big time bather and a luxury soaker tub for me is a MUST. We chose a very large and wide 42"x59" modern style soaker tub that will allow for my husband and I to literally sit side by side in the tub with no problems!
If you are looking to install the same tile from Home Depot there are a few things that you should know. It is not an easy job! Since these tile need to be laid one by one it will take A VERY LONG TIME! The reason for this is that most walls unfortunately are not even which results in your installation process taking extra time because each piece will have to be leveled and worked with so that you have a smooth finish. You need to go with a good knowledgeable installer for this. We were charged a flat rate of $750 and unfortunately the people we used ended up losing out since it took longer than even they expected. The job was started last Friday and was completed Tuesday with them here every day out of the 5 days! The results are stunning, but just be prepared.
Since you see it in the pictures, here is the lighting that we chose for that space. They are the Allen + Roth Polished Chrome Flush Mount lights from Lowe's who by the way has a pretty decent selection. I chose this lighting very quickly and had no time to order ahead as the installers were already here which I hate doing. but it goes perfect with the style of the bathroom. We did have to modify the length since it came at 7.5" and was too short. Our electrician took an extension rod that was only available in copper and cut it in half adding equal size to each light. I actually like the 2 tone look that it now has as well as the extended length.
Well, it isn't much and it certainly isn't finished, but we're getting there little by little. The bathroom vanity will be here Friday morning and I need to find sinks and faucets so hopefully there will be more progress by the end of the week.
Did I mention that we are having a party Saturday?!!! Can I scream now??????
Monday, December 5, 2011
How To Decorate A Designer Christmas Tree...On A Budget
Good morning,
Guess what time of year it is?????
That's right my friends, it's Christmas time!!! This is my most favorite times of year and since it has been a rough couple years for us I wasn't feeling as in to the Christmas spirit as I normally would be. Well, there's nothing like putting up a tree to change all of that!!! I bought my first real tree, and it started with a trip to the tree farm. Even though the 80 degree Florida weather NEVER makes it feel quite like Christmas time, it was a great start.
I thought I would do a post on decorating trees that are fit for a designer or straight out of a magazine, but on a shoe string budget. It's all about mixing things up and using what you have around you. I tend to take a little bit of everything and stick it in our tree. I use things from Target, Wal Mart, the Dollar Store, and things that I have here around the house. To be honest that's really the key to making an amazing tree, variety.
To start off with try to establish a color scheme or trend. Ours it is white, silver and touches of black, but I also have natural woodsy elements in there as well.
I will demonstrate a step by step of how our 10' tree came together.
First, string the lights (if you don't have a pre-lit tree). This part is time consuming and for me the worst, but it is the MOST critical since a tree that isn't well lit or that has holes in it won't look finished. I bought our lights at Wal Mart and find them to have the best prices out there.
Second, I add ribbon cascading down my tree. This is a very inexpensive way to add depth to your tree and to fill in some areas and holes. I used silver ribbon bought at Michaels.
Next, I fill in a couple of spots with something a bit unexpected. For this I use some crystal and silver sticks that I purchased from Z-Gallery originally for a vase, but loved better in the tree. They give it a bit of whimsy and really stand out. For yours, you can use regular sticks or you can even spray paint them silver or gold to get a similar effect on a shoe string budget.
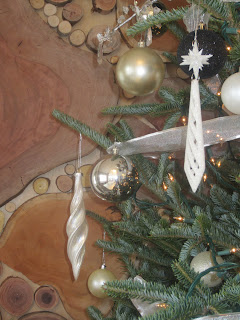
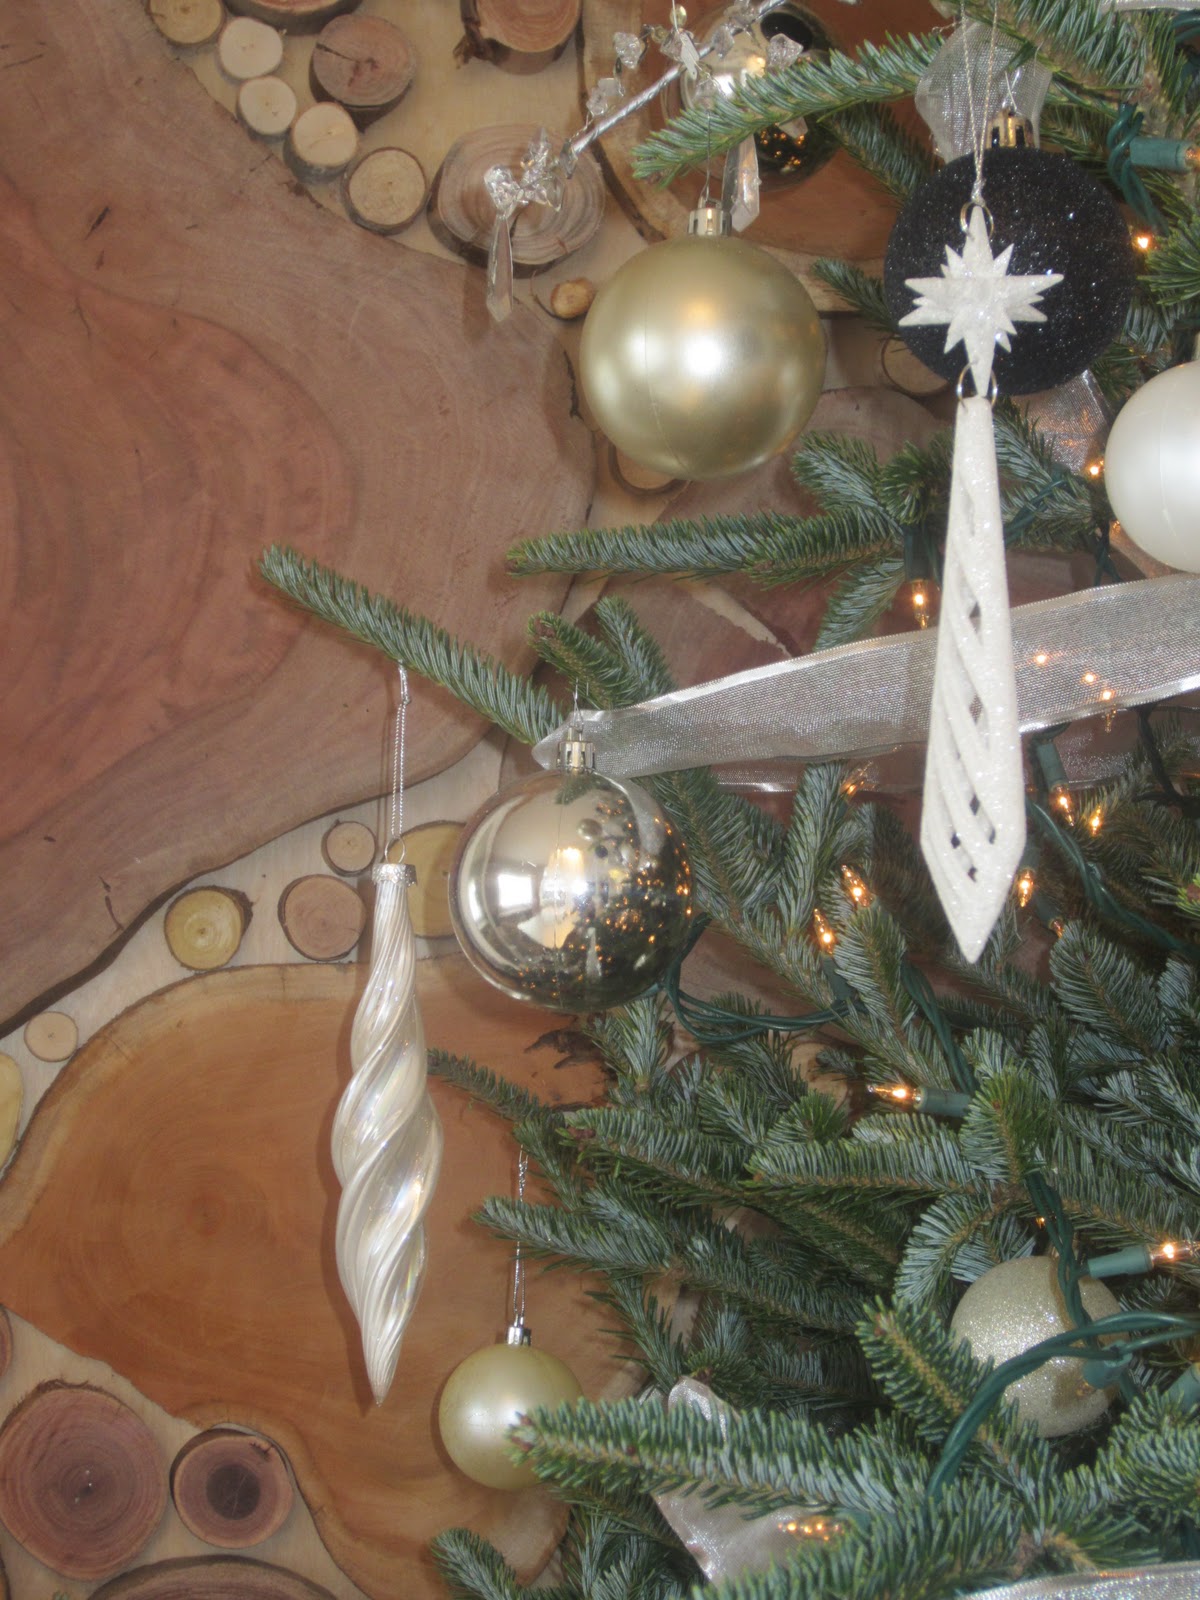
Next, I add round ball ornaments in varying colors, sizes and textures. For ours I used white, silver, and black. They vary from shiny, to matte, and glitter. I USE A TON OF THESE! This every year drives me crazy when I open my boxes and see how many of these I actually own, and I ALWAYS think to myself why I did I buy so many? The funny part about that is that I use every one of them every year and they really make the tree. I put them on the ends of branches and I tuck them inside the branches which gives a 3-D type effect. I bought mine at Wal Mart and the Dollar store in large boxes at amazing prices. Very stunning.
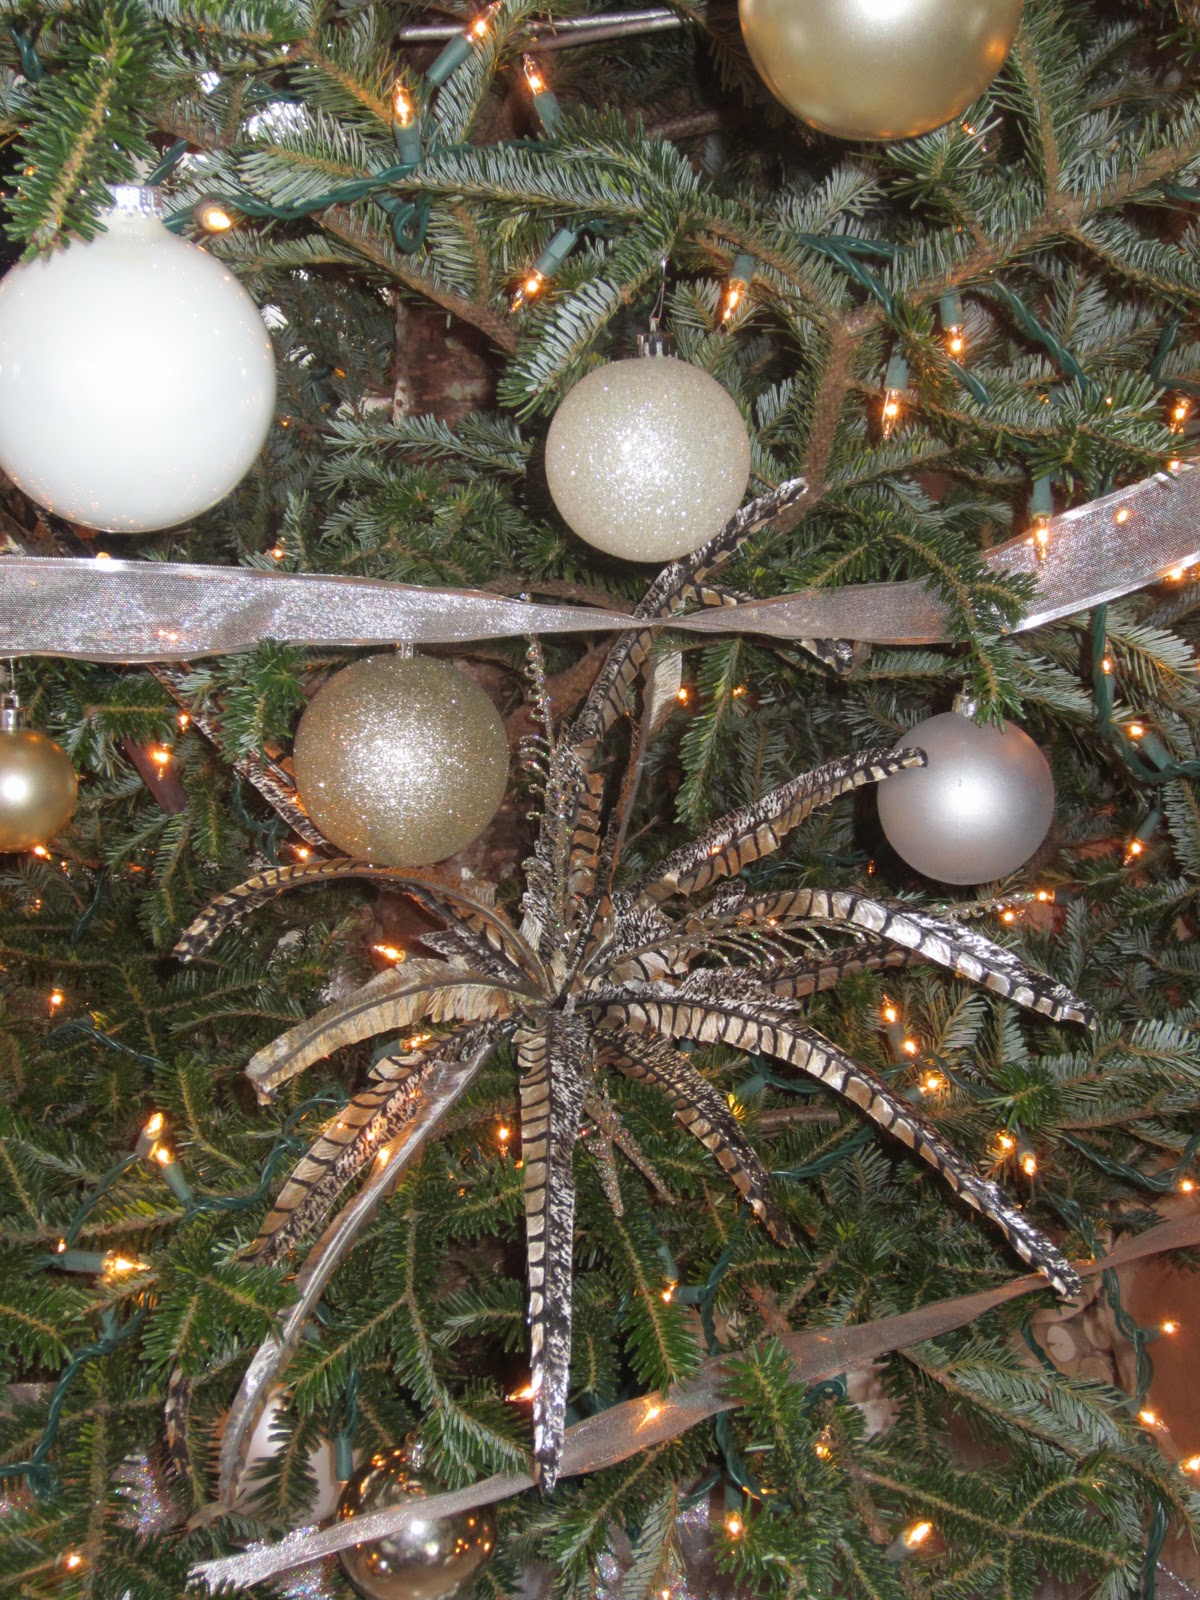
Next, I stand back and look for the awful holes that are in my tree that make it look kind of lop sided and doofey. For these I took some fake pheasant feather sprays that I bought for 50% off at Michael's who by the way have a-maz-ing holiday decor sales and have a HUGE selection and variety of trinkets and baubles for your home.
Above is a picture of a large hole in the bottom of the tree.
And now above is the same hole, but filled in and looking much less bare.
Next, I take more elements and add them to my tree. For this I found some balls that I bought at Target in a variety pack and used to have in a bowl on my coffee table. I either hung these or nestled them in branches. These gave me a nice organic touch which goes well in my home. For you it could be moss balls, or star fish. Whatever you have in your home can easily be translated to your tree.
Next, I took a complete variety of glassy, crystal, feathered and what ever else I could get my hands on and filled every spare area with shimmering ornaments. For all of these, I have picked them up through the years all over. Most of them were purchased about 3 years ago at Wal Mart at around $1.00-$2.00 each which is an amazing price. Some I bought at Michael's in their 50% off sale. Some I have bought with my daughter at the Nutcracker ballet, and some have been gifted on wrapping of presents. Whatever your ornaments mean to you, you can incorporate them in to your tree to make it extra special.
Next, you will need a tree topper. This is the most special part for both my daughter's of which one gets to add the star. For you this could be a star or an angel, but it could also be something different and imaginative. For me this was a star with another pheasant spray and I also added a pine needle and pine cone spray that I had to fill it in a little (the pictures don't do this justice, but it's tall and I'm standing on my table). Whatever you do make it special and unique, but don't forget this part of your tree!
The final step is to stand back and admire your beautiful Christmas tree and all that it symbolizes for you. For me this means that we've made it through some life experiences. Some bad, but some good and really beautiful!
That is our lovely black and white (with silver) Christmas tree! I hope yours comes our with as much love and enjoyment as mine did and I would love to hear from you and share in your holiday spirit as well~
Subscribe to:
Posts (Atom)