Good morning,
Since we are close to Christmas, and I mean REALLY close I figured it's a good time to talk about decorating the dining table. Many of us will be celebrating this coming week by having friends and family gather together. It's definitely worth a little effort to make that experience memorable by giving your table some forethought and some love.
I decorated two tables this year. One is of coarse our table and the other one is the table of a good friend and client of mine D. The styles are so different but equally stunning so I'll break them down for you in a bit of a "How To" on decorating your own table for the season.
I used the same concept for both tables, but the styles and colors are completely different. Take a look at 2 tables with the same type of layout and decide which one you like better.
Here are some pics of D's table and buffet dressed up for Christmas (some of which were taken before and after flowers were added and some in day time and others at night).


D's house is a previous project of mine that is almost complete (pics to come) , and I styled it to be very lush and calm with a bit of a beachy feel so it makes sense that her holiday decor would also have that organic feeling. D loves that:) Her table alone is made from antique pieces of Brazilian teak wood so our decor needed to compliment that and not distract form it. I used muted organic tones and added just a touch of sparkle.
-And layers with square vases. We used 5 in total. The vases were filled with white and silver sparkly ornament balls (which are the same ones on her tree), and the others are filled beautiful white Hydrangeas. We alternated them using vases that she already owned. Found at Michael's.
-Sprinkle down the table with more balls and ornaments weaving them around as you go.
-Add candles everywhere. In this case we took mercury glass votives found at Z Gallery. I NEVER do a table or dinner party without tons of candles, EVER.
-D already had the pine cone Christmas trees so we added those and matched them with more pine cones on her banner and through out her house.
-The silver branches were placed as an added touch which we found at Z Gallery on clearance (whoot whoot).
That's it! Beautiful table done in about 10 minutes using mostly things that D already had.
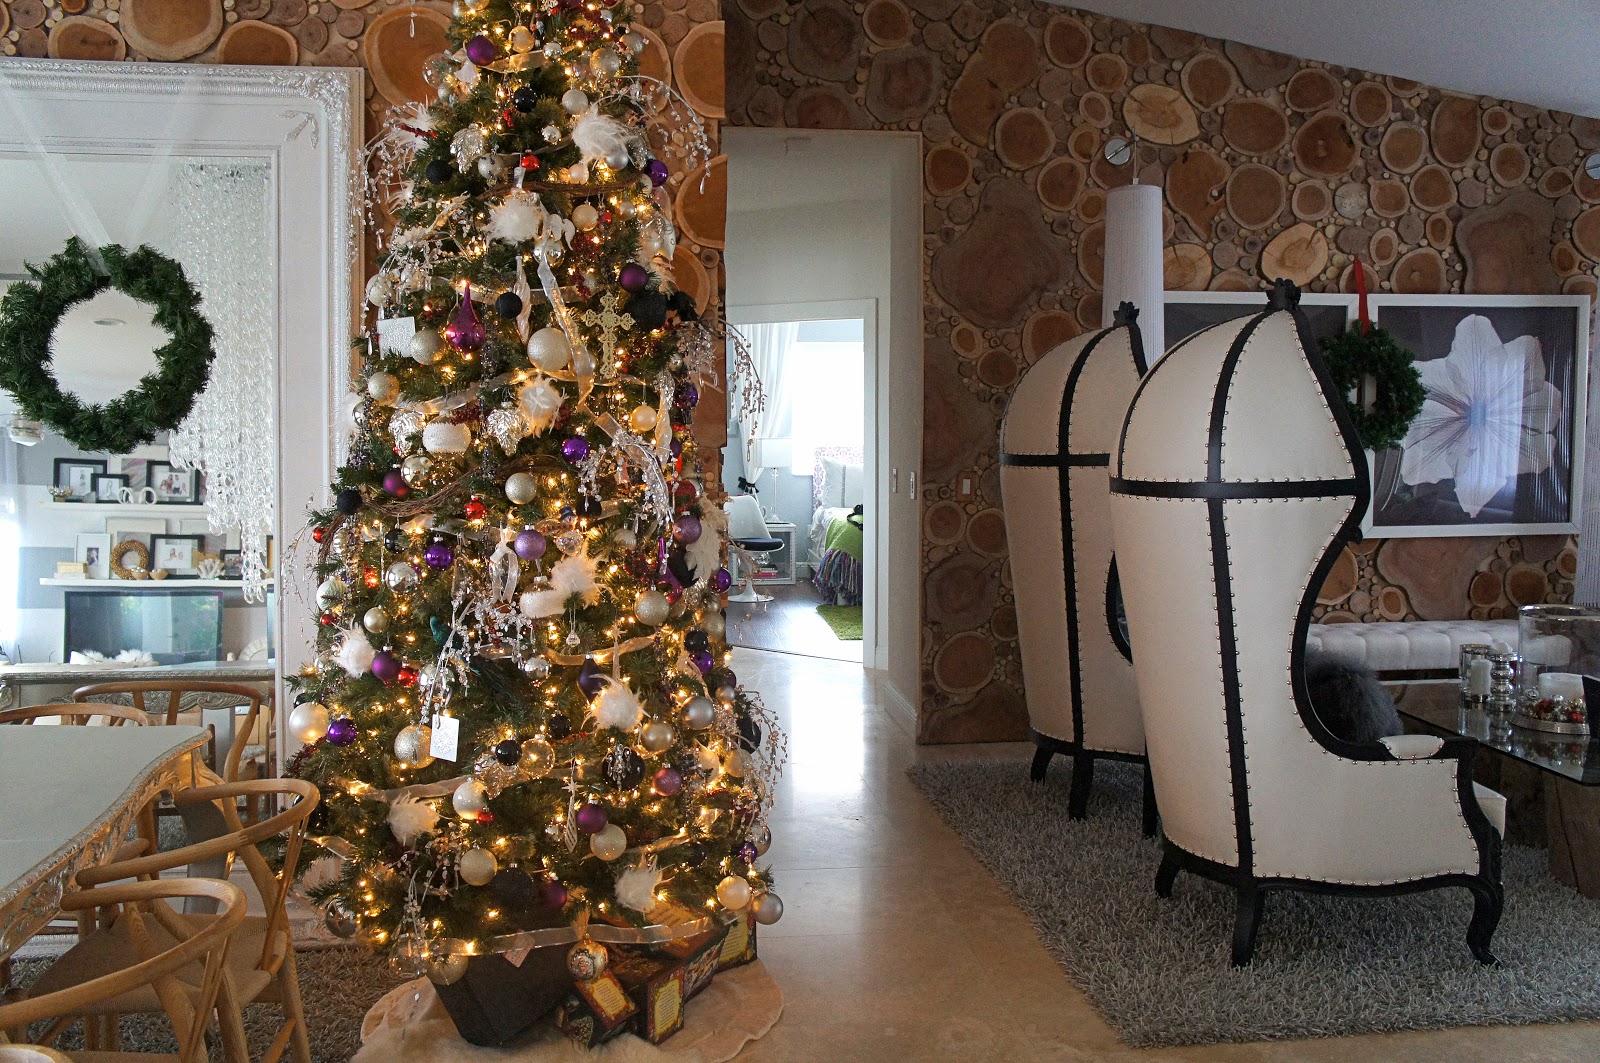
Now here's another styled table, my table. This year I added color throughout the house for something a little different and you will see that in our table.


Since we are close to Christmas, and I mean REALLY close I figured it's a good time to talk about decorating the dining table. Many of us will be celebrating this coming week by having friends and family gather together. It's definitely worth a little effort to make that experience memorable by giving your table some forethought and some love.
I decorated two tables this year. One is of coarse our table and the other one is the table of a good friend and client of mine D. The styles are so different but equally stunning so I'll break them down for you in a bit of a "How To" on decorating your own table for the season.
I used the same concept for both tables, but the styles and colors are completely different. Take a look at 2 tables with the same type of layout and decide which one you like better.
Table 1: Organic Christmas Table And Home Decor.
Here are some pics of D's table and buffet dressed up for Christmas (some of which were taken before and after flowers were added and some in day time and others at night).


D's house is a previous project of mine that is almost complete (pics to come) , and I styled it to be very lush and calm with a bit of a beachy feel so it makes sense that her holiday decor would also have that organic feeling. D loves that:) Her table alone is made from antique pieces of Brazilian teak wood so our decor needed to compliment that and not distract form it. I used muted organic tones and added just a touch of sparkle.
This table is simple, so here's a quick step by step to show you just how easy it can be:
-Take a runner to ground the table and display your center pieces on.-And layers with square vases. We used 5 in total. The vases were filled with white and silver sparkly ornament balls (which are the same ones on her tree), and the others are filled beautiful white Hydrangeas. We alternated them using vases that she already owned. Found at Michael's.
-Sprinkle down the table with more balls and ornaments weaving them around as you go.
-Add candles everywhere. In this case we took mercury glass votives found at Z Gallery. I NEVER do a table or dinner party without tons of candles, EVER.
-D already had the pine cone Christmas trees so we added those and matched them with more pine cones on her banner and through out her house.
-The silver branches were placed as an added touch which we found at Z Gallery on clearance (whoot whoot).
That's it! Beautiful table done in about 10 minutes using mostly things that D already had.
Now here's another styled table, my table. This year I added color throughout the house for something a little different and you will see that in our table.
Table 2: Colorful Jewel Toned Christmas Table And Home Decor.


This table is simple, so here's a quick step by step to show you just how easy it can be:
- I again took a runner and ran it down the center of my table as an anchor. **My table is extremely long at 130" fully extended so I bought a table cloth from Target for only $19.99 that was 144" L and folded it to a runner size which saved me big bucks! Thank You David Bromstad, we still love the table!!!!!!!
-I took 3 mirrors from my closet that I already had and placed them apart on the runner.
-I went to Home Depot and took branch scraps from the trees that they cut. Cost? Free! I placed those down the center of the table.
- I took the square vases that I already owned (the same ones D owns) and placed them down the table 6 in total because that's all I had. I filled 3 with a wild flower arrangement bought from the local grocery since I had no time to go elsewhere, and the other 3 with an assortment of colorful balls bought from Target and used also on my tree and through out the house.
-I added layers of votives. Some mercury glass ones that I found at Z Gallery 12- $19.99 and the plum ones from Target for $1.00 each.
- I sprinkled the rest of the colorful balls down the table and weaved them through out.
- I added the glittery stars which were from Target for $2.00 each. I bought 12 in total which I place on the edge of charger plates when the table is set for dinner and when not set, they simply blend in.
For the console table, I already owned the garland, and all of the elements aside from the colorful ball ornaments which were also from the variety pack I bought this year from Target.
***My disclaimer. I decorate for Christmas EVERY year so I have acquired things through the years which I change up. The reality is that once you have the basics down such as your candle votives, your ornaments and your vases you can recycle these things for any holiday and use them time and time again. I happen to do this as much as possible because I love to entertain as any of our good friends will tell you, so I am pretty well stocked with the basics and typically only need flowers and extra candles. For you, you can start and add little by little. You would be surprised at how much a couple flowers and candles can make a table festive and make your party memorable for everyone.
With that, which do you prefer for your own home? Do you love the natural and organic or the colorful version this Christmas? As always I would LOVE to see your own pictures so please share~