


Good morning,
Guess what time of year it is?????

That's right my friends, it's Christmas time!!! This is my most favorite times of year and since it has been a rough couple years for us I wasn't feeling as in to the Christmas spirit as I normally would be. Well, there's nothing like putting up a tree to change all of that!!! I bought my first real tree, and it started with a trip to the tree farm. Even though the 80 degree Florida weather NEVER makes it feel quite like Christmas time, it was a great start.
I thought I would do a post on decorating trees that are fit for a designer or straight out of a magazine, but on a shoe string budget. It's all about mixing things up and using what you have around you. I tend to take a little bit of everything and stick it in our tree. I use things from Target, Wal Mart, the Dollar Store, and things that I have here around the house. To be honest that's really the key to making an amazing tree, variety.
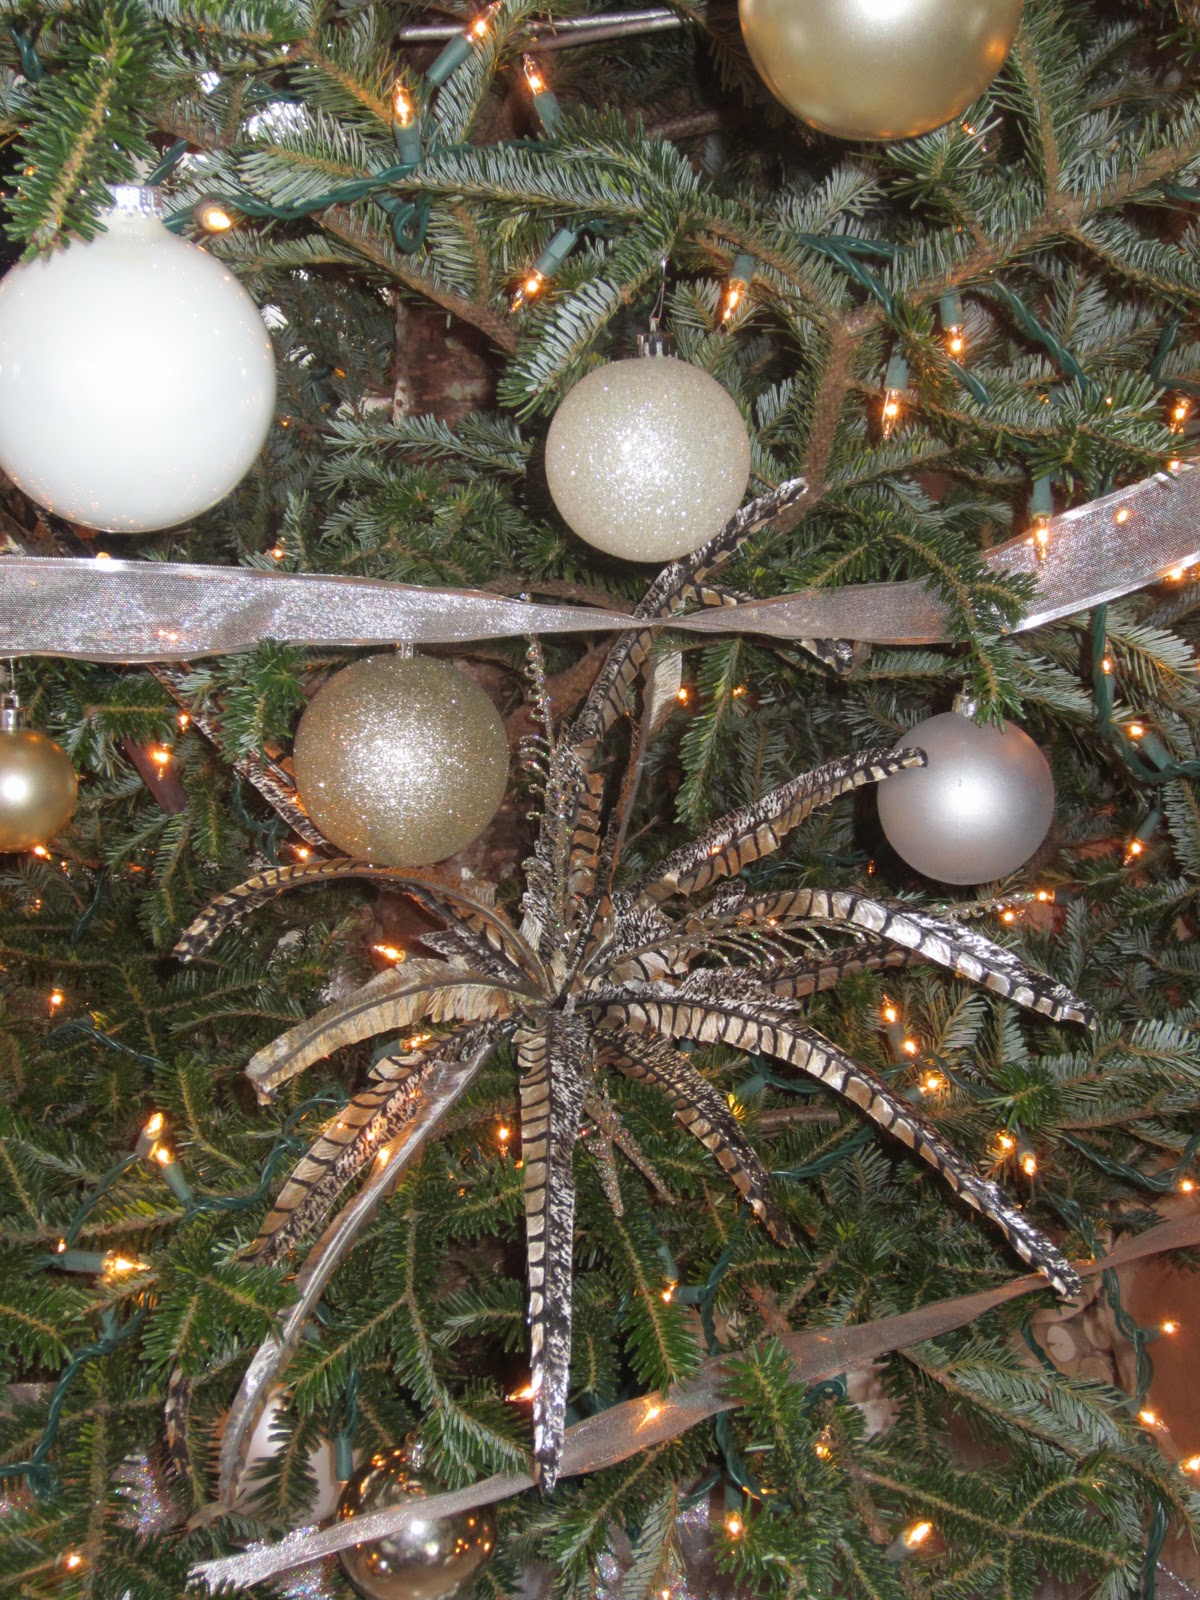
To start off with try to establish a color scheme or trend. Ours it is white, silver and touches of black, but I also have natural woodsy elements in there as well.
I will demonstrate a step by step of how our 10' tree came together.
First, string the lights (if you don't have a pre-lit tree). This part is time consuming and for me the worst, but it is the MOST critical since a tree that isn't well lit or that has holes in it won't look finished. I bought our lights at Wal Mart and find them to have the best prices out there.

Second, I add ribbon cascading down my tree. This is a very inexpensive way to add depth to your tree and to fill in some areas and holes. I used silver ribbon bought at Michaels.

Next, I fill in a couple of spots with something a bit unexpected. For this I use some crystal and silver sticks that I purchased from Z-Gallery originally for a vase, but loved better in the tree. They give it a bit of whimsy and really stand out. For yours, you can use regular sticks or you can even spray paint them silver or gold to get a similar effect on a shoe string budget.


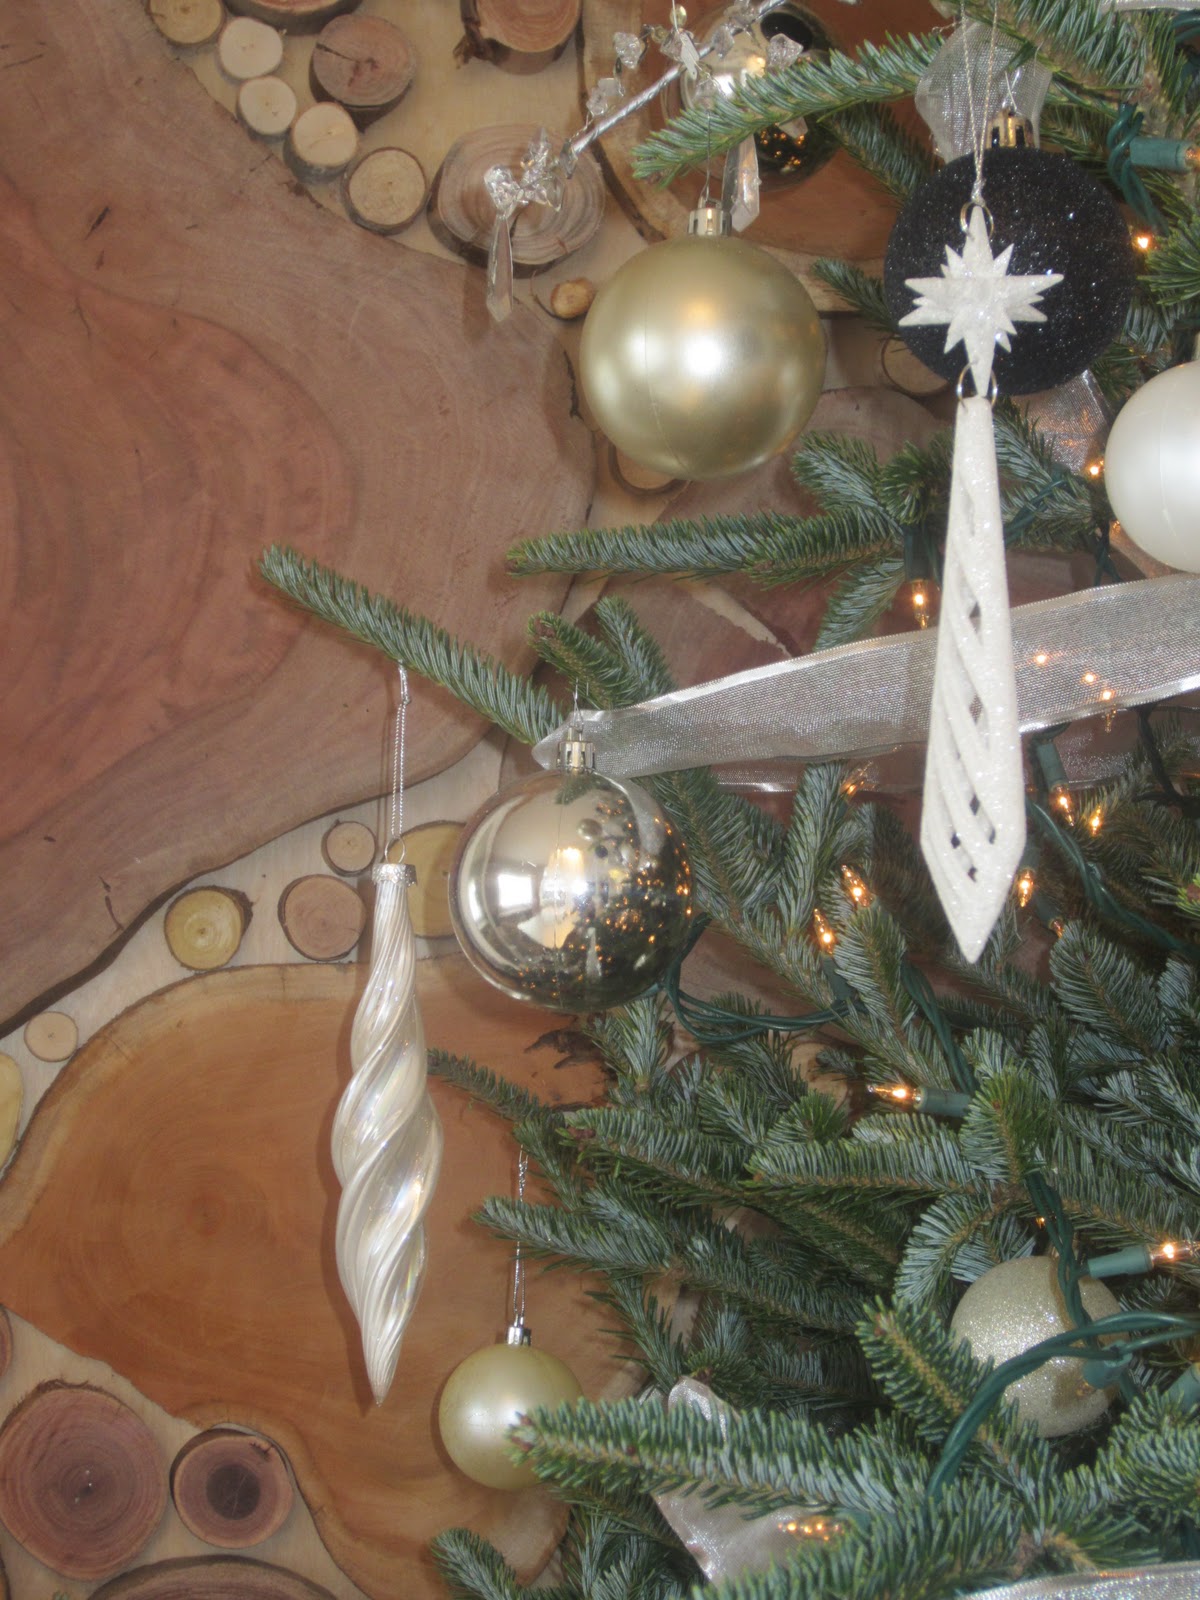
Next, I add round ball ornaments in varying colors, sizes and textures. For ours I used white, silver, and black. They vary from shiny, to matte, and glitter. I USE A TON OF THESE! This every year drives me crazy when I open my boxes and see how many of these I actually own, and I ALWAYS think to myself why I did I buy so many? The funny part about that is that I use every one of them every year and they really make the tree. I put them on the ends of branches and I tuck them inside the branches which gives a 3-D type effect. I bought mine at Wal Mart and the Dollar store in large boxes at amazing prices. Very stunning.


Next, I stand back and look for the awful holes that are in my tree that make it look kind of lop sided and doofey. For these I took some fake pheasant feather sprays that I bought for 50% off at Michael's who by the way have a-maz-ing holiday decor sales and have a HUGE selection and variety of trinkets and baubles for your home.


Next, I take more elements and add them to my tree. For this I found some balls that I bought at Target in a variety pack and used to have in a bowl on my coffee table. I either hung these or nestled them in branches. These gave me a nice organic touch which goes well in my home. For you it could be moss balls, or star fish. Whatever you have in your home can easily be translated to your tree.


Next, I took a complete variety of glassy, crystal, feathered and what ever else I could get my hands on and filled every spare area with shimmering ornaments. For all of these, I have picked them up through the years all over. Most of them were purchased about 3 years ago at Wal Mart at around $1.00-$2.00 each which is an amazing price. Some I bought at Michael's in their 50% off sale. Some I have bought with my daughter at the Nutcracker ballet, and some have been gifted on wrapping of presents. Whatever your ornaments mean to you, you can incorporate them in to your tree to make it extra special.


Next, you will need a tree topper. This is the most special part for both my daughter's of which one gets to add the star. For you this could be a star or an angel, but it could also be something different and imaginative. For me this was a star with another pheasant spray and I also added a pine needle and pine cone spray that I had to fill it in a little (the pictures don't do this justice, but it's tall and I'm standing on my table). Whatever you do make it special and unique, but don't forget this part of your tree!


The final step is to stand back and admire your beautiful Christmas tree and all that it symbolizes for you. For me this means that we've made it through some life experiences. Some bad, but some good and really beautiful!


No comments:
Post a Comment